Friday, January 4, 2013

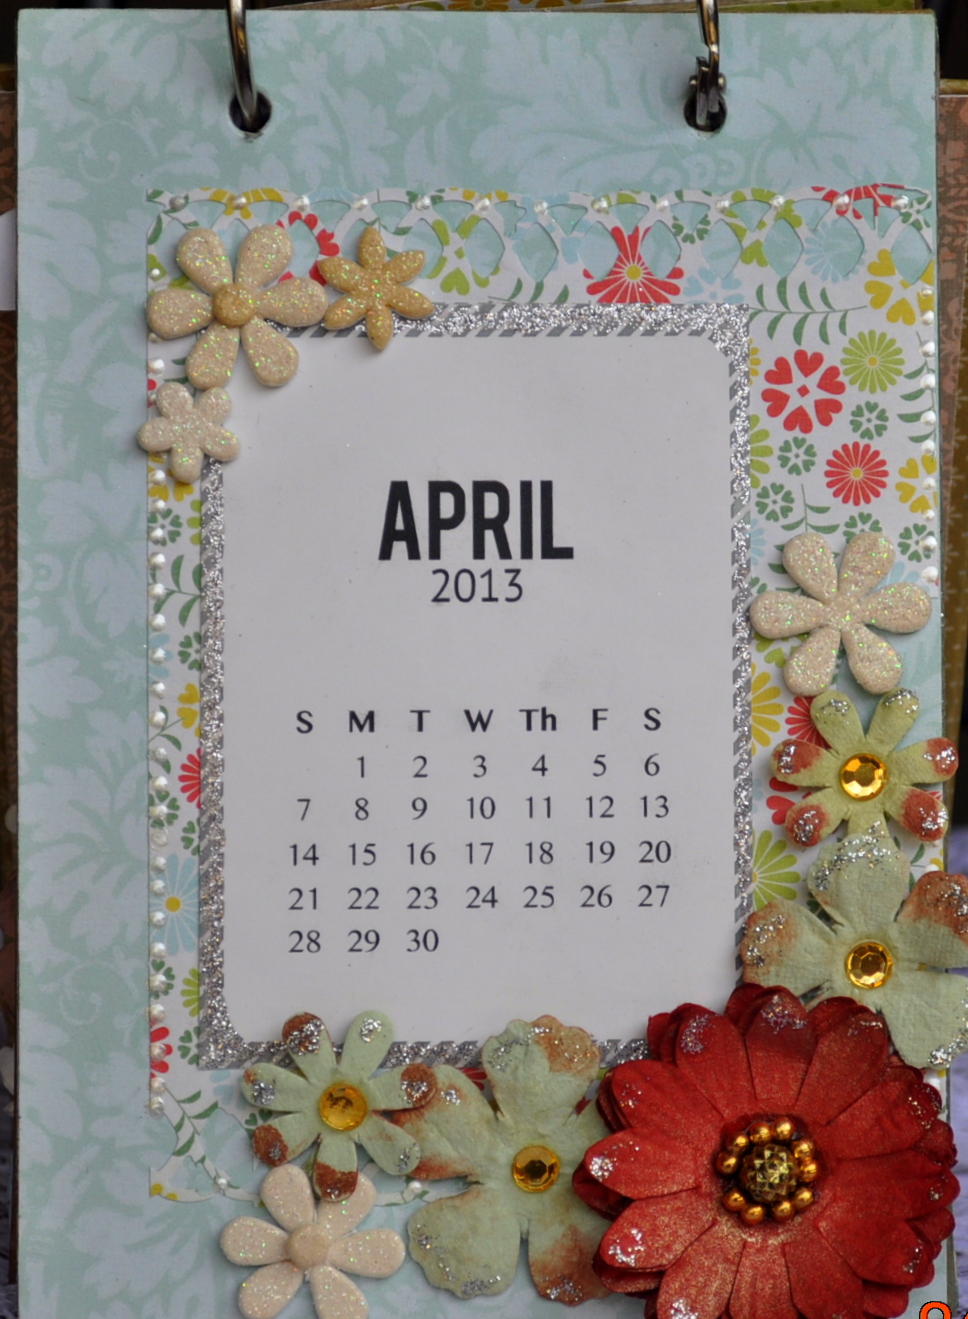
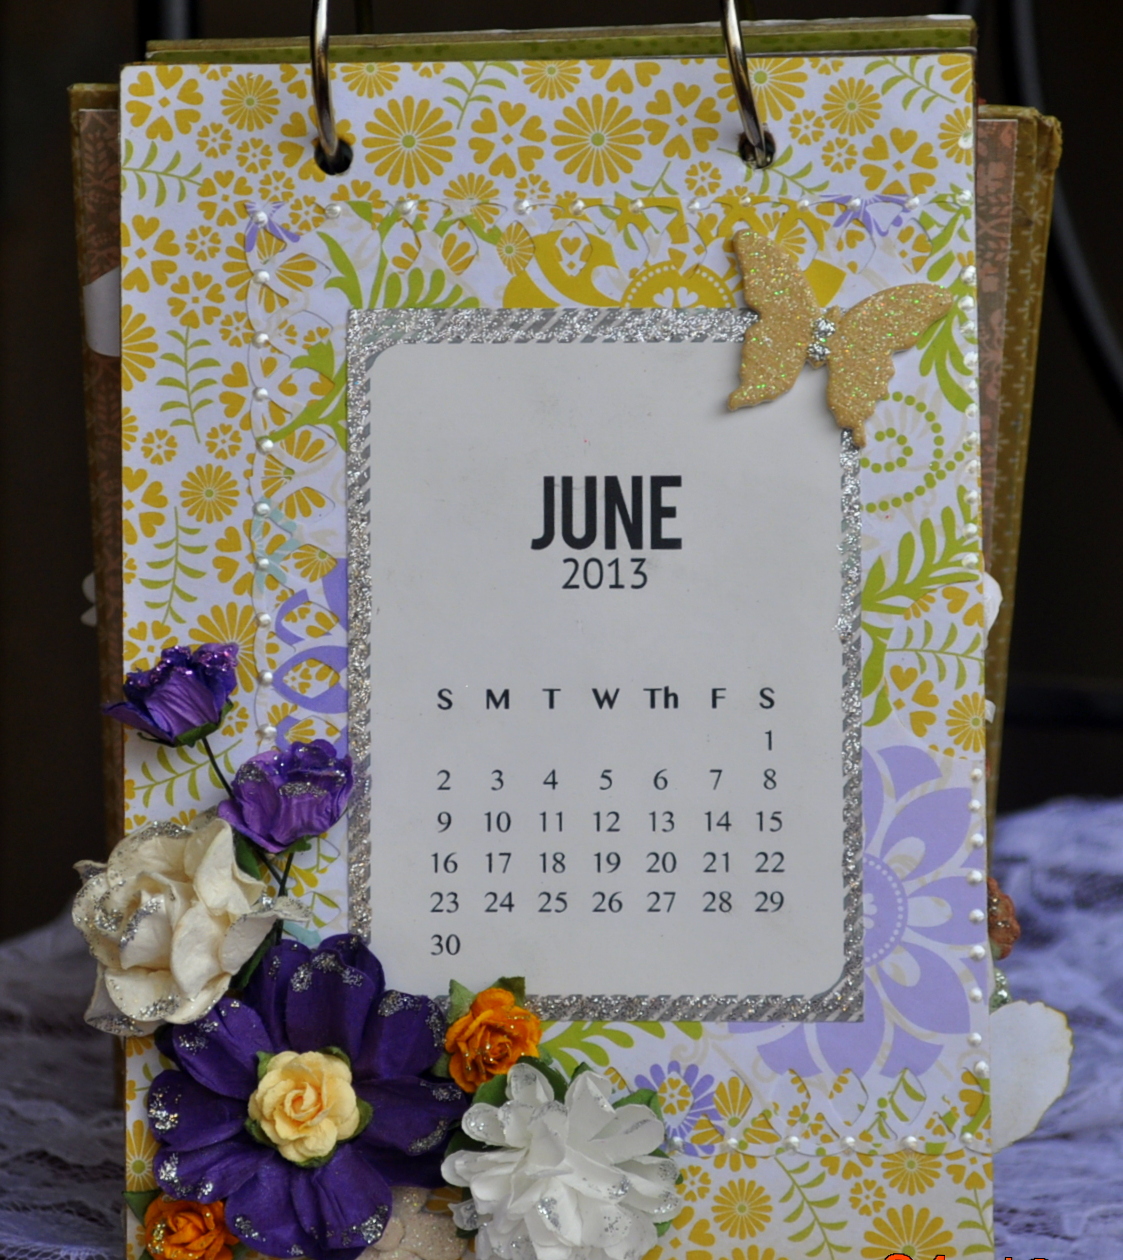
Handmade Desk Calendar

Hi

One of the swaps that I participated in was the 2013 desk calendar swap on Swap Central India .I was so happy when I discovered this blog since I had been whining and grumbling about the need to do swaps and not having a forum locally.I have been following the blog for a couple of months and finally gathered my courage to participate in one.

I decided to use the papermania chipboard album for the calendar pages and made a standing frame to hold the pages using a fairly thick chipboard.

All the paper that has been used on this calendar is DCWV fresh florals stack.I kept the pages very bright and happy.I decided not to make monthly theme based pages since I did not have enough coordinating embellishments.I decided to go for bright colours, flowers and butterflies since mostly everybody likes those.I have provided a pocket on almost all the pages.The recipient can stick in some notes in there if they want to.I used tons of perfect pearls and glitter and I love it!It's a little bit chunky,but it stands okay,so that should not be an issue.


Supplies Used
Paper " DCWV Fresh Florals Stack
Flowers : Crafter's Corner,A1 Crafts,Itsy Bitsy and handmade
Stickers : Itsy Bitsy
Wood Flowers and leaves : Crazycrafter
Chipboard Flourish : Itsy Bitsy
Calendar Printable : Findingnana

Cheers
Pallavi

Saturday, December 22, 2012

Christmas ATC

Hi

Two posts in a row.Yay!!

I mentioned some swaps in my previous post.One of them was a Vintage Christmas themed ATC at MSR.We had to make 4 ATCs for our group and here is my entry.


The front of the ATC looks like an envelope and this is how it looks when you open it


Isn't that image adorable!I love love love it.I just cut the image in three parts.I figured,if one wanted to,they could use this on their mantle or something during Christmas.

I did not do too many techniques here on this ATC.Did not have enough time.I do hope that people who get this like it.

The image is from Graphics Fairy .
Cheers
Pallavi

Red Overload (Picture Heavy!)

Hello!

I have been missing for so long! Well,actually that is nothing new here on my blog,but I have been missing because I have been busy with some projects.That's a good thing, right? I had participated in a couple of swaps this month and I was busy working on those.I will post all the projects in my subsequent posts.It takes so long for me to finish stuff, so I tend to ignore my blog.I don't know how people get so many things done so efficiently
.
Anyhow, I recently participated in a Secret Santa swap on myscraproom.ning.com.It's a lovely community of people who love to craft.They hold various swaps each month.Since I love Christmas, I loved the idea of being somebody's Secret Santa.It was a whole lot of fun.:-)

Today, I wanted to share a few handmade things I made for my partner.Her favourite colours are Reds and Green and Brown, so I made a few things for her.Here they are.


Here's the top of the box.Its painted in gold all over and the inside is also covered in paper.I forgot to take a picture if the inside of the box.:-)


And a look at the cards.I love the cards, if I say so myself.They were quick to make,so I made two!I love the paper and the image.I just used some silver glitter and some punching.The image is from Magic Moonlight Free Images.


Oh,before I forget! I also made an altered photo frame for my partner.I could not take a decent picture when I finished, so you probably can't see all the details.

I painted the frame using Fired Brick distress stain and then embossed the whole surface with a white embossing powder and a script stamp.The embossing is messy,since there was too much static and I don't have that tool which gets rid of that.I was trying to replicate the script design of the paper.


Hope you like this overdose of red.:-)


Submitting for the following challenges
Itsy Bitsy Two's Company Challenge
Crafters Corner Make a set Challenge

Supplies : Papermania Believe Collection from
White, cream and daisy flowers from Crafters Corner
Red and White mulberry flowers from a1craftsupply
Everything else from my stash

Cheers
Pallavi
 

Tuesday, November 13, 2012

Altered Canvas Swap

Hiya!

I was missing again,wasn't I!Well that's the norm rather than an exception here.I like to be different.Lol.

Work has been keeping me busy,but that does not mean that I haven't been doing stuff.Apart from blowing away my money on craft supplies like there's no tomorrow,I participated in a couple of swaps and also made a few itty bitty things for other people.My problem is not with creating,but with taking decent pictures afterwards.I suck at taking pictures and it bugs me when I can't capture all the details of the project.
Anyhow,the first swap that I was involved in was an altered canvas swap at www.myscraproom.ning.com .My partner had requested me for a Halloween themed canvas and boy did that throw me in for a loop.Being from a non-Halloween celebrating country,I had nothing related to that.I did come up with something anyway.Here take a look


There is a lot of texture on this canvas which of course is not very visible in the picture.I used texture paste with a brick stencil and also bandage.If you look carefully at the bottom right corner,you can probably make that out.

The canvas was cut out in the middle and I inserted a box and made doors with corrugated cardboard.I was trying to make a haunted cabinet sort of thing.All the images on the canvas are from http://graphicsfairy.blogspot.in/.The candlestand  and the ghost have some heat embossing done on the them.I also have some bat images at the top left and a skeleton hand at the bottom right there.The inside of the box has a skull printout stuck to a wire and a spider,caterpillar and a creepy rat.I got those plastic creatures from a stationery shop here.Those are meant for children's school projects.I painted them black and just ran some gold paint over them.The background picture in the back is that of a graveyard.:-).The white thing that you see is my attempt at making a spiderweb.I used those bandages that you get at medical stores for dressing up wounds.I am not sure what you call them.

The rest is just stamping,stencilling etc.I am pretty satisfied with my attempt.Hope you like it too.

Cheers
Sumi

Monday, October 8, 2012

Birthday explosion box : Photo Heavy

Hello!

My husband had his birthday in July and I had made an explosion box for him as a surprise additional gift.Never got around to taking pictures till now.This was my first ever attempt at such a thing.Yeah,one of many firsts.:-)

I had started out with the idea of making a sophisticated, adult version of the box but you will see that it's nowhere close to it.It ended being a mish mash of everything.This is how it looks from the outside.Plain and simple.


This is how it looks when opened.


The center has a paper cake.:-).Not an original idea,I know.:-)

All the four flaps have a two page booklet and a pocket.I tried to include things that he liked, so each of the booklets have a pic he has taken of some birds on his nature photography tips.Now please don't ask me why I have pinks mixed with red.Remember, shortage of supplies drives me to do crazy things.:-)
You can stop here if you like.Go further at your own risk, unless you want to be overwhelmed with too many photos.

Pocket one has a tiny birthday card which in my opinion was messed up.I was trying embossing with a hairdryer and glitter etc.It's kind of grungy but passable I think.


The second pocket has a poem that I really liked and printed out and posted on decorated cardstock which was made to look like a scroll of sorts.


The third pocket has some coupons I made for him.I am very proud of that.I am technically challenged, so using MS word to make these was a new thing for me.They are all bent out of shape because the booklet is a bit too long.


Last pocket!Phew!For this I made a booklet with pockets and each pocket has some fun facts about birds.I couldn't help it.Birds are his passion.:-)


All flaps have a mini album of sorts with bird photos like I said.


Okay folks,that's it.You might wonder why I have put so many pictures here.Well,because this is my blog and I can.;-)

Kidding! It's because when I was making this, I was searching high and low for inspiration and though many many people have made beautiful things, there were often very few pictures.I am hoping this provides some ideas for souls like me who are not overly creative and might need some help.:-)

Cheers
Sumi

My very first scrapbook layout - Yay!

Hello (empty blog room/place),

I have been thinking of trying my hand at scrapbooking for a long while.Here in our family,we are not very active at documenting life's moments.My husband is an avid photographer,but he is more interested in birds (I do mean actual flying birds,heh heh) and nature.Yeah,we have tons of trees and hundreds of bird photos in various settings and probably a total of five of us together.I know you can understand my non interest in scrapbooking now.:-)

Anyhow,I stole a bunch of photos from my mom's album and have been meaning to put them in a layout.I have to admit that I kept looking at them for months and could not think of anything.These are sepia or black and white and aged photos and I could not figure out which colours to use and what to do with them.I finally kicked myself into actions this weekend and decided that I have to stop being afraid of making mistakes and finally did it.This is created on a 10 by 12 canvas and I think i am happy with what I have done.Atleast my mom is and that's good enough.

So here it is.Ta da!


This is a photograph of my younger brother's first birthday.I can't understand why I am incapable of taking better pics,where my work looks exactly like it looks in real life!Frustrating.

Anyway,the polka dot paper is actually edged with antique linen and also misted with gold perfect pearls.All the other things are new purchases and things I have been hoarding for a while.The canvas is black,white and gold,Hope you can make that out.

Some closeups?


Hope you like it.

Cheers
Sumi

Thursday, October 4, 2012

My first mini album : Photo heavy and too much talking going on

Hello,
Today I wanted to post some pictures of my first ever mini album.This is made for a friend's little girl.I am not too happy with it.I see the pictures and cringe a little bit when I see how some of the pages are so amateurish. I promised myself though,that I will document everything I make here on this blog (good or bad),so here it is.In my defense,all my tools decided to abandon me.My glue ran out,double sided tape was not to be found anywhere,the paper trimmer blade started acting up and by the time I was done,I was pretty fed up with it all.:-).I haven't lost hope though.This was a practice run.My next attempt is to make one for a baby boy and I will user better quality papers and take better pictures too.All these were taken in a hurry as usual.

So, a few details about the album.It's made of envelopes and the cover is a recycled cardboard.The papers are a mix of whatever I had.I don't really know which paper stack it was honestly.Its all pink and green because...those were the only papers I had with me.:-)

This is the cover of the album.I fixed the pleated lace at the top.It was too short and I should have also removed the butterfly.It was not looking right to me, but I forgot to do that!Needless to say,I am not too happy with the cover.It's definitely better than how it looks here,but then I always say that,don't I?:-)


Each spread has a pocket on one side and holds a photo mat.The page itself is a pocket so there are photo mats within each pocket too.I hope I am making sense.You see the cutesy flowers on each page.Those are photo mats within the envelope pockets which can be pulled out.

The first page.This gatefold thingy opens up and has a photo mat inside.


Page 2 spread: Pocket on one side with a photo mat and another pocket with a double photo mat booklet/insert.


Page 3 spread :Another photo mat with a mini doily to hold the photo.The other side is just the regular pocket just like it is on all spreads.


Page 4 spread: Just a mini insertion.This can hold 6 small sized photos.I think this is called the waterfall flip book.

Another pocket with photo mat on the other side.


Page 5 spread : Photo mat pocket and a mini book of sorts,The frame was actually a fridge magnet.I just painted it and added some bling.A tiny photo can be inserted inside.The book opens up and there's place for three photos.This is my fav page, even though I know that the pages don't go very well with the background page.I was trying out something on this paper and it was a royal fail.I did not want to waste it, so I used it on the only blank album page I had left.:-)


Page 6 spread : One side has a waterfall card.Basically you pull at the tag at the bottom and the photos flip.Its cool.Can't show it in action,because I had already stuck some photos of the baby in there .The waterfall card is just the front of a card which can open up and hold two more pictures.


Page 7 : By this time I was tired and irritated,so this just has some flower stickers which can act as photo corners.:-)


Now onto the credits.I followed various tutorials on youtube for some of the pages and the album itself.You can check them out if interested,

Long envelope mini scrapbook album : Followthepapertrail
Waterfall flip book :Kathryn Krieger
Sweet as sugar image from free vintage digital stamps

Comments,good or bad are welcome.:-)

Cheers
Sumi
 
Related Posts Plugin for WordPress, Blogger...