Friday, January 25, 2013

ATC Holder

Hello again,

Two posts in a day!Can you tell I am on a roll today?This is a "once in a blue moon' occurence on this blog,because the blog owner is as lazy as can be.:-)

Anyway,in my previous post I had mentioned receiving some ATCs.I think I am going to participate in more ATC swaps or just make some for myself,so I was trying to figure out a way to store them.After much googling and youtubing (yes,that's a word ...I think),I finally found a supersimple and easy tutorial.Took me not more than an hour to make this and that too because I had to dive into my cluttere craft closet and look for embellishments.So here it is, my tiny cute ATC holder


The top flap opens up and you can put ATCs inside,Right now,I have only 5 or 6 of them,but I am guessing that it will fit at least 10.Mine are all dimensional so they take much more space.I think it will store more if you have flatter ATCS.You can also use it to store your ATC blanks if you like.


The sides are accordion folded so they can stretch a little bit too.To make it a bit prettier,I glossy accented the motifs on the paper.You can't really see that in the picture.Added flowers,a bit of lace and called it done.I actually have to think about what I want to do for the closure of the flap,but for now,it seems to stay closed,so will see if I want to do anything more.

If any of you is reading this,do you think I should add some letters or some label saying that this holds ATCs?I tried to put the making memories metal lable thing on the flab but could not make up my mind whether I like it or not.Suggestions are welcome!

Now,since I am pretty proud of my photography skills lately,I have to put one more pic.Talk about being self absorbed.lol


This is made based on the excellent tutorial by theElegantCriminal on youtube.This is her original template and its awesome.

Supplies:
DCWV Coral Couture Stack from Crafters Corner
White cardstock from A1 crafts
Broken china distress ink from Crafters Corner
Lace,bling ,pearl from my stash
Flowers : I am roses

Hope you like this!

Cheers

Submitting this for the Crafters corner challenge number 4 here

ATC Swap

Hi

I am very happy today!I had mentioned in one of my previous posts that I had been a part of an ATC swap over on myscraproom and showed the ATC that I had made.Yesterday I received the ATCs from all my partners and its so exciting to finally have those with me.

This swap was a Vintage Christmas ATC swap and my group had 5 people including me.Here are the ATCs that I received.


They are all so unique and pretty!I am so glad that I decided to participate.I am not sure if the people who sent these ever read my blog,but if they do,then thank you!


Cheers
Pallavi

Monday, January 21, 2013

Create with abandon : My current motto.:-)

Hello!

I am back with another project and I am so glad I finally did something!I have been busy with work and have been postponing all my crafty work for almost a month now and was itching to do something.

I don't know what to call this.Maybe a plaque?A lot of people have been working on identifying a defining word for this year.A word that will be the underlying inspirational theme for 2013.I have been thinking real hard and I came up with one finally.Mine is Endeavour.I am one of those people who always hesitates before getting into anything.Extra cautious and non committal,that's me!This year though,I do not want to play it safe.I want to play,take risks and try everything,hence the word.I wanted to to make something to remind me of that.Unfortunately I was also creating this for a challenge and I had the restriction of a 6 by 6 project,so I decided to use the word CREATE.Cliche much,eh?I will probably make a bigger something for my actual word, but for right now this also mirrors how I want to be this year.

Anyway,without any more rambling,here is my plaque or affirmation sign or whatever you want to call it.


It was pretty simple to make.The base is thick white cardstock.The pattern paper is punched.The letters are coloured with blush pink acrylic paint and then I used pink glitter glue on them.The rest is diecuts,laces,flowers etc.I tried to create some texture with a stencil and gesso.Not sure if I like that too much,to be honest.There's some stamping too but its hardly visible.

Hope you like this project!

Submitting this for Crafters Corner Challenge No. 4 which is anything but a layout or card.My project is neither of those,so I hope it qualifies for entry.

Supplies :
Paper : DCWV botanicals stack from Crafters Corner
Die Cuts : Tigerlily Collection from Lulupu (Either from the Lakehouse or the Tigerlily collection)
Flowers : I am roses,I think.:-)
Chipboard Alphas : Itsy Bitsy

Cheers
Pallavi

Friday, January 4, 2013

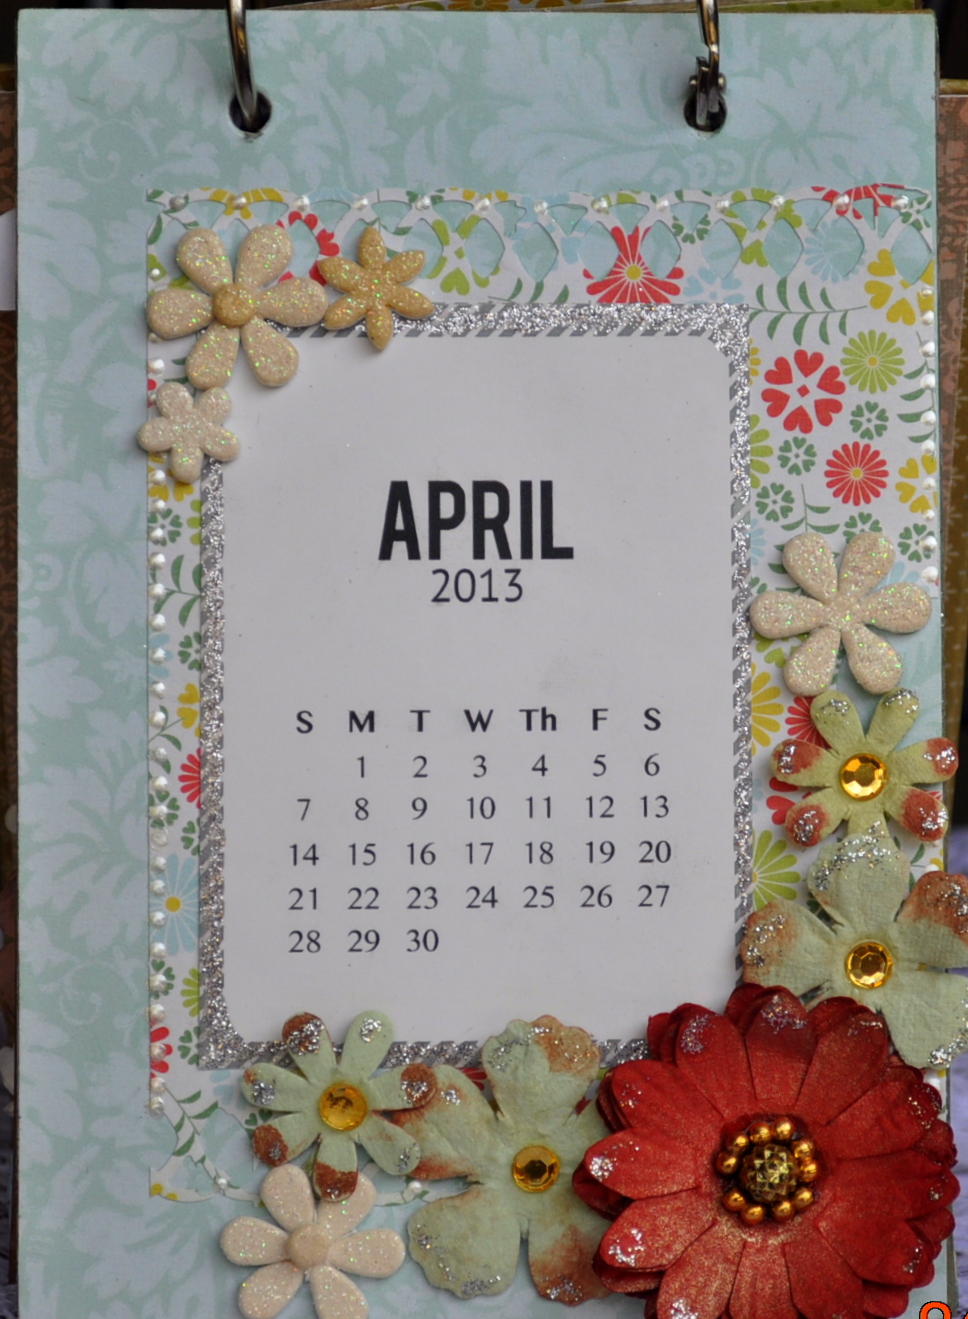
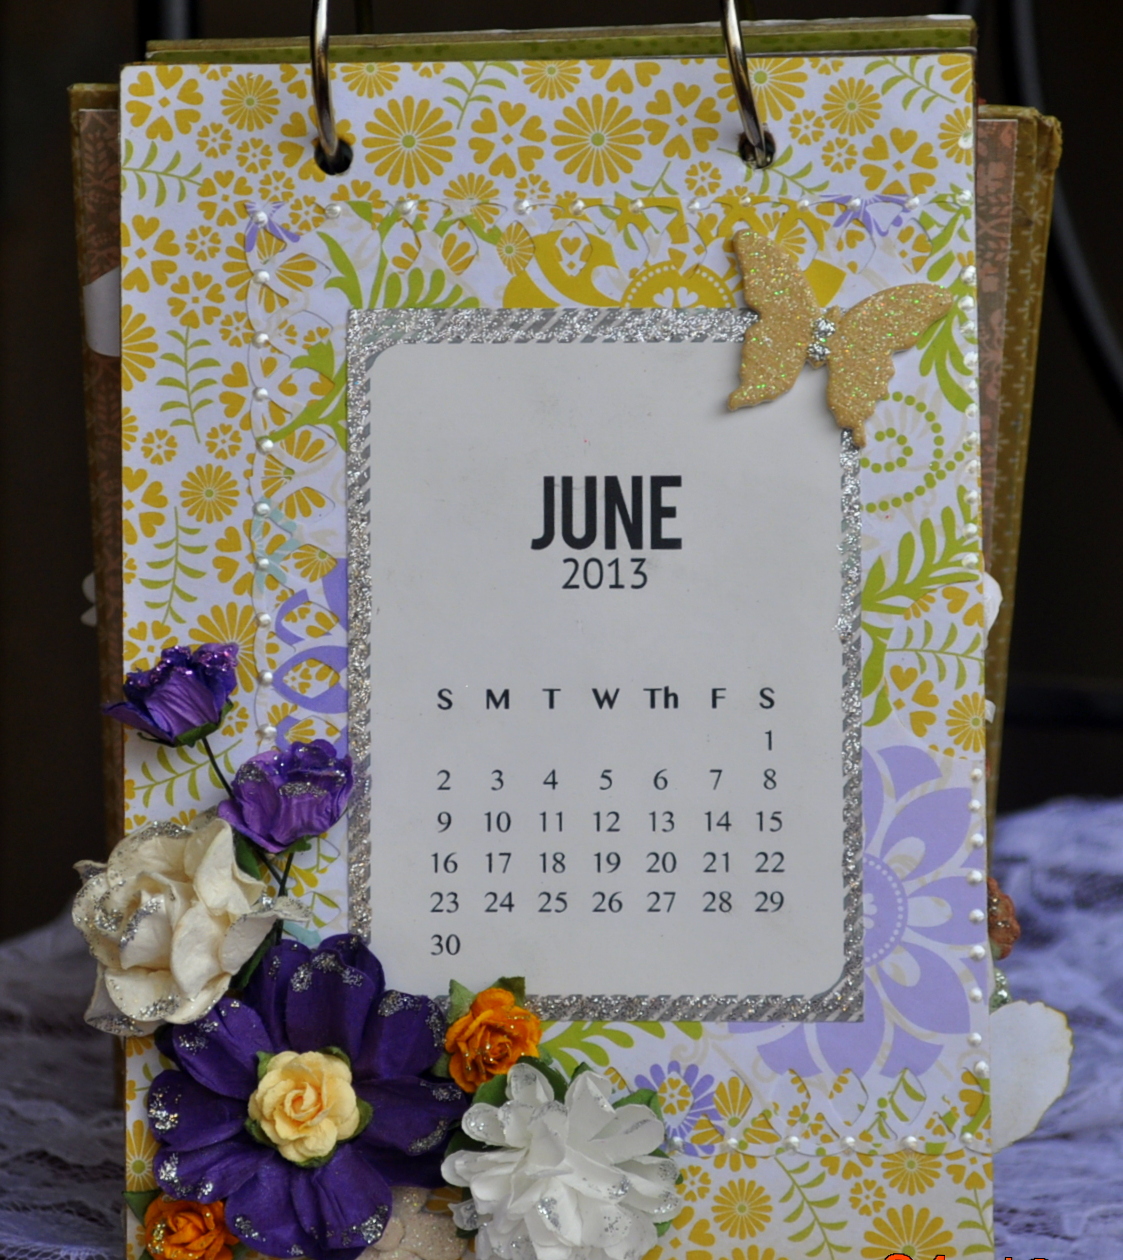
Handmade Desk Calendar

Hi

One of the swaps that I participated in was the 2013 desk calendar swap on Swap Central India .I was so happy when I discovered this blog since I had been whining and grumbling about the need to do swaps and not having a forum locally.I have been following the blog for a couple of months and finally gathered my courage to participate in one.

I decided to use the papermania chipboard album for the calendar pages and made a standing frame to hold the pages using a fairly thick chipboard.

All the paper that has been used on this calendar is DCWV fresh florals stack.I kept the pages very bright and happy.I decided not to make monthly theme based pages since I did not have enough coordinating embellishments.I decided to go for bright colours, flowers and butterflies since mostly everybody likes those.I have provided a pocket on almost all the pages.The recipient can stick in some notes in there if they want to.I used tons of perfect pearls and glitter and I love it!It's a little bit chunky,but it stands okay,so that should not be an issue.


Supplies Used
Paper " DCWV Fresh Florals Stack
Flowers : Crafter's Corner,A1 Crafts,Itsy Bitsy and handmade
Stickers : Itsy Bitsy
Wood Flowers and leaves : Crazycrafter
Chipboard Flourish : Itsy Bitsy
Calendar Printable : Findingnana

Cheers
Pallavi

Saturday, December 22, 2012

Christmas ATC

Hi

Two posts in a row.Yay!!

I mentioned some swaps in my previous post.One of them was a Vintage Christmas themed ATC at MSR.We had to make 4 ATCs for our group and here is my entry.


The front of the ATC looks like an envelope and this is how it looks when you open it


Isn't that image adorable!I love love love it.I just cut the image in three parts.I figured,if one wanted to,they could use this on their mantle or something during Christmas.

I did not do too many techniques here on this ATC.Did not have enough time.I do hope that people who get this like it.

The image is from Graphics Fairy .
Cheers
Pallavi

Red Overload (Picture Heavy!)

Hello!

I have been missing for so long! Well,actually that is nothing new here on my blog,but I have been missing because I have been busy with some projects.That's a good thing, right? I had participated in a couple of swaps this month and I was busy working on those.I will post all the projects in my subsequent posts.It takes so long for me to finish stuff, so I tend to ignore my blog.I don't know how people get so many things done so efficiently
.
Anyhow, I recently participated in a Secret Santa swap on myscraproom.ning.com.It's a lovely community of people who love to craft.They hold various swaps each month.Since I love Christmas, I loved the idea of being somebody's Secret Santa.It was a whole lot of fun.:-)

Today, I wanted to share a few handmade things I made for my partner.Her favourite colours are Reds and Green and Brown, so I made a few things for her.Here they are.


Here's the top of the box.Its painted in gold all over and the inside is also covered in paper.I forgot to take a picture if the inside of the box.:-)


And a look at the cards.I love the cards, if I say so myself.They were quick to make,so I made two!I love the paper and the image.I just used some silver glitter and some punching.The image is from Magic Moonlight Free Images.


Oh,before I forget! I also made an altered photo frame for my partner.I could not take a decent picture when I finished, so you probably can't see all the details.

I painted the frame using Fired Brick distress stain and then embossed the whole surface with a white embossing powder and a script stamp.The embossing is messy,since there was too much static and I don't have that tool which gets rid of that.I was trying to replicate the script design of the paper.


Hope you like this overdose of red.:-)


Submitting for the following challenges
Itsy Bitsy Two's Company Challenge
Crafters Corner Make a set Challenge

Supplies : Papermania Believe Collection from
White, cream and daisy flowers from Crafters Corner
Red and White mulberry flowers from a1craftsupply
Everything else from my stash

Cheers
Pallavi
 

Tuesday, November 13, 2012

Altered Canvas Swap

Hiya!

I was missing again,wasn't I!Well that's the norm rather than an exception here.I like to be different.Lol.

Work has been keeping me busy,but that does not mean that I haven't been doing stuff.Apart from blowing away my money on craft supplies like there's no tomorrow,I participated in a couple of swaps and also made a few itty bitty things for other people.My problem is not with creating,but with taking decent pictures afterwards.I suck at taking pictures and it bugs me when I can't capture all the details of the project.
Anyhow,the first swap that I was involved in was an altered canvas swap at www.myscraproom.ning.com .My partner had requested me for a Halloween themed canvas and boy did that throw me in for a loop.Being from a non-Halloween celebrating country,I had nothing related to that.I did come up with something anyway.Here take a look


There is a lot of texture on this canvas which of course is not very visible in the picture.I used texture paste with a brick stencil and also bandage.If you look carefully at the bottom right corner,you can probably make that out.

The canvas was cut out in the middle and I inserted a box and made doors with corrugated cardboard.I was trying to make a haunted cabinet sort of thing.All the images on the canvas are from http://graphicsfairy.blogspot.in/.The candlestand  and the ghost have some heat embossing done on the them.I also have some bat images at the top left and a skeleton hand at the bottom right there.The inside of the box has a skull printout stuck to a wire and a spider,caterpillar and a creepy rat.I got those plastic creatures from a stationery shop here.Those are meant for children's school projects.I painted them black and just ran some gold paint over them.The background picture in the back is that of a graveyard.:-).The white thing that you see is my attempt at making a spiderweb.I used those bandages that you get at medical stores for dressing up wounds.I am not sure what you call them.

The rest is just stamping,stencilling etc.I am pretty satisfied with my attempt.Hope you like it too.

Cheers
Sumi
Related Posts Plugin for WordPress, Blogger...